Sin City Vette AA/FC
-
jim sanders
- Posts: 8740
- Joined: Fri Feb 24, 2006 8:54 am
- Location: St.Louis Mo.
- Contact:
Re: Sin City Vette AA/FC
GOOD TO GO !!
Uncle Curt Wasson album
[url=http://www.glowfoto.com/users2/gatorgumbo][img]http://www.glowfoto.com/siteimages/linktogallery.gif[/img][/url]
Uncle Curt Wasson album
[url=http://www.glowfoto.com/users2/gatorgumbo][img]http://www.glowfoto.com/siteimages/linktogallery.gif[/img][/url]
Re: Sin City Vette AA/FC
well Rock knows the driver is certifiable . known that for years . even before he got his license .... 

congrates onthe stickering . now time to assemble it .
congrates onthe stickering . now time to assemble it .
the Groom that went Vroom At DLN IV
-
Rapid Randy Baker
- Posts: 8075
- Joined: Thu Feb 23, 2006 9:05 am
- Location: Des Moines, Iowa
- Contact:
Re: Sin City Vette AA/FC
do they use the same stuff in the tube for electric shock therapy? congrats on the cert.
It tasted the same to me Doc.
NITRO PILOT
[url]http://.www.rapidrandy.net[/url]
[url]http://.www.rapidrandy.net[/url]
-
Rapid Randy Baker
- Posts: 8075
- Joined: Thu Feb 23, 2006 9:05 am
- Location: Des Moines, Iowa
- Contact:
Re: Sin City Vette AA/FC
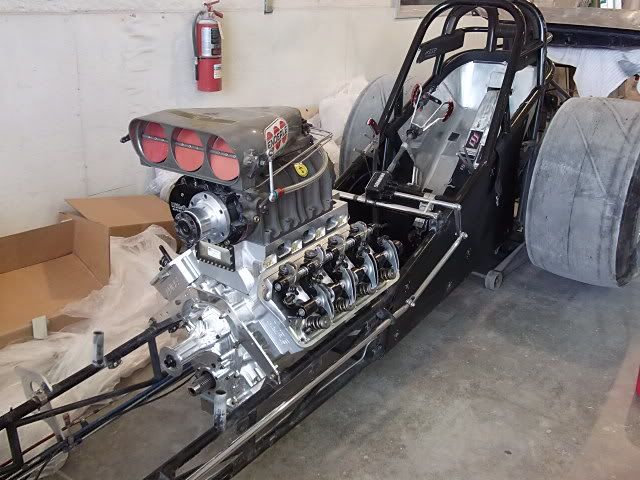
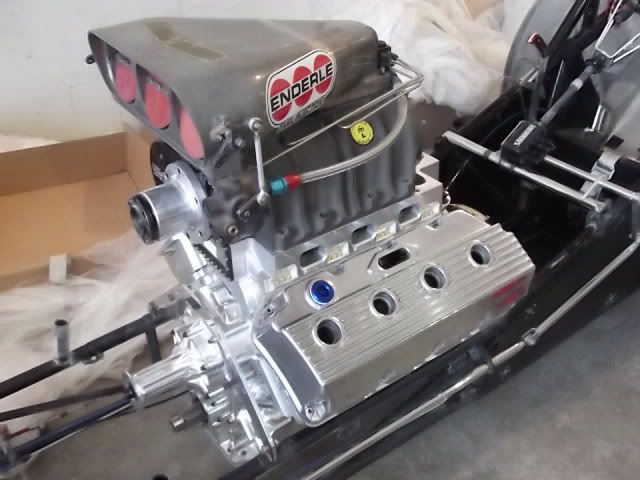
Now that the body is painted, I can work on a few other things. Today I spent some time putting the engine in the chassis. I need to do some mock-up things so I went ahead and slid the heads into place. I put the rocker gear together and on the heads. Then starting working on making the valve covers fit. I also put the fuel pump together and in place. I needed to measure for the main fuel line so Roo can get it made up and on the way. Here are some photos.
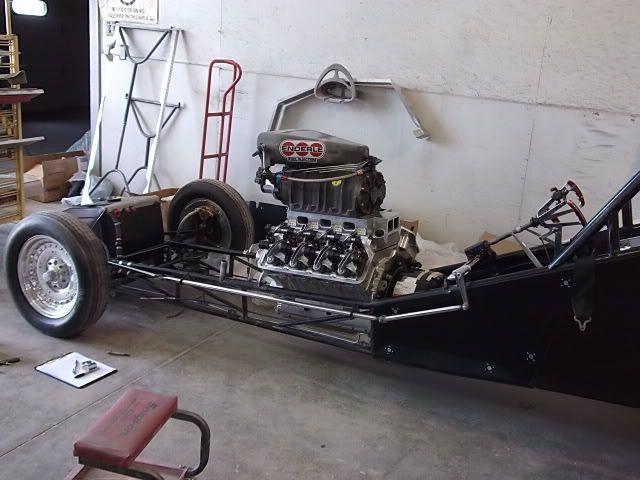
Since the injector is still at Roo's shop. I brought a spare I had at home to help with line placement.
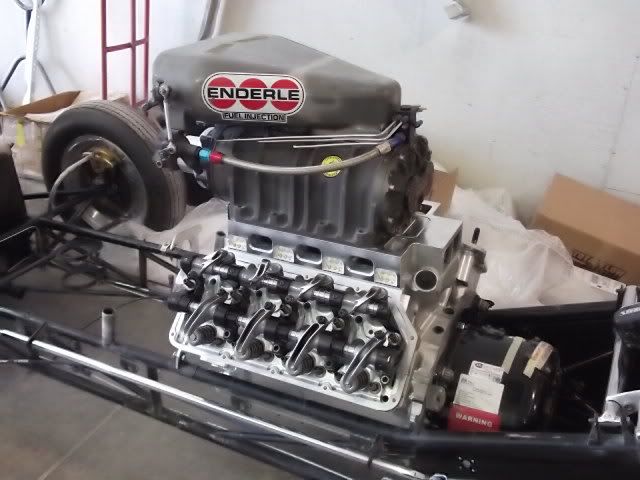
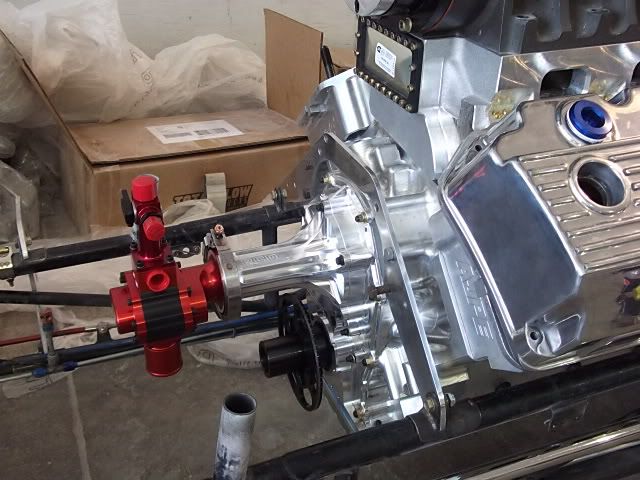
Since the injector is still at Roo's shop. I brought a spare I had at home to help with line placement.
NITRO PILOT
[url]http://.www.rapidrandy.net[/url]
[url]http://.www.rapidrandy.net[/url]
-
Greg Green
- Posts: 279
- Joined: Sat May 26, 2007 7:04 am
- Location: Lee's Summit, MO.
Re: Sin City Vette AA/FC
Jordan says you're doing a good job on his ride. He did say one thing odd though...he asked me if it was show car season. When I said no, he said, well, let's get this thing on the track then..lol... Second time I heard that this week. Great Job Rapid!
-
Rapid Randy Baker
- Posts: 8075
- Joined: Thu Feb 23, 2006 9:05 am
- Location: Des Moines, Iowa
- Contact:
Re: Sin City Vette AA/FC
Greg, that is the plan!!!
I thought maybe some here would be interested in the mechanics of how the graphics come to be.
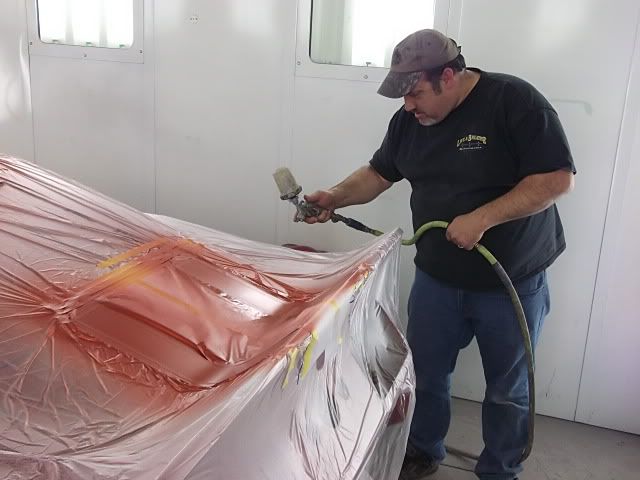
1st photo is me applying the clearcoat after we were done with graphics.
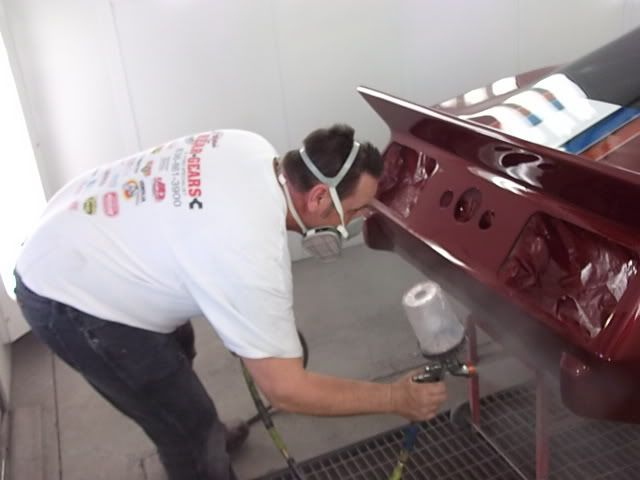
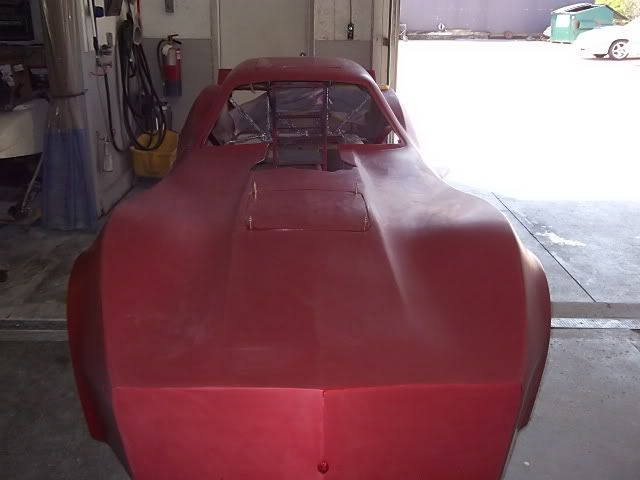
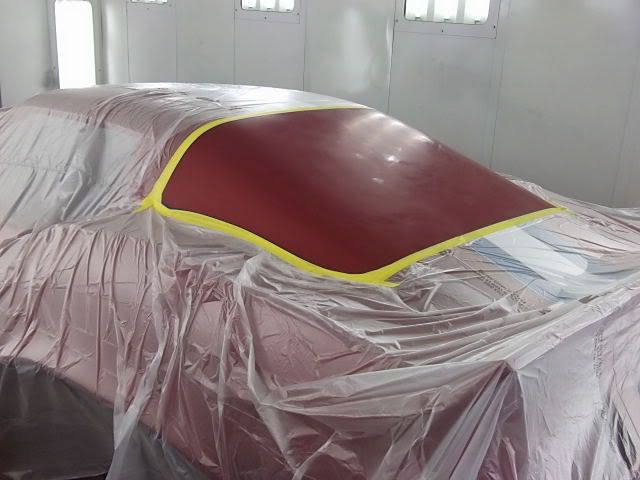
After the main color was sanded down and prepped for the graphics step
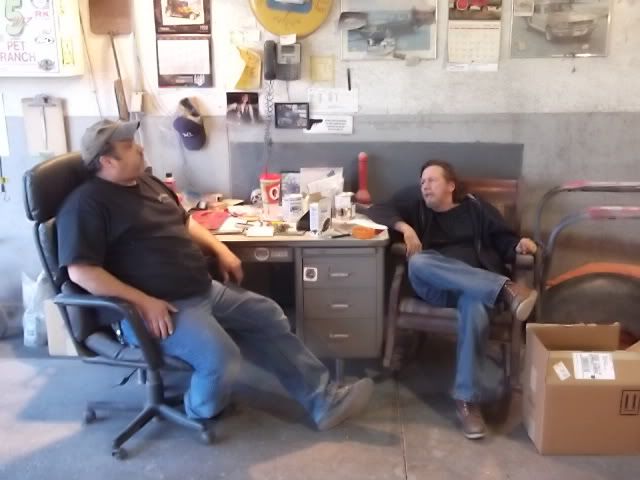
Ron, on the left. Jack on the right, and I stayed late one night to lay-out and apply the graphics.
I thought maybe some here would be interested in the mechanics of how the graphics come to be.
1st photo is me applying the clearcoat after we were done with graphics.
After the main color was sanded down and prepped for the graphics step
Ron, on the left. Jack on the right, and I stayed late one night to lay-out and apply the graphics.
NITRO PILOT
[url]http://.www.rapidrandy.net[/url]
[url]http://.www.rapidrandy.net[/url]
-
Rapid Randy Baker
- Posts: 8075
- Joined: Thu Feb 23, 2006 9:05 am
- Location: Des Moines, Iowa
- Contact:
Re: Sin City Vette AA/FC
The first step is to lay out the section you are going to be using. I didn't take any photos of this step as it is just a lot of tape lines going a number of different directions. Jack was real good at having a plan for this.
1st we layed down a brilliant silver panel the width of the whole graphics area. Then we masked that so that there would be a silver pinstripe between all the colors and around the outer edge of the graphics.
Then we started with the Tangerine. Since Ron is the painter at the shop and has helped me a bunch with this project I felt it would be fun for him to have a little hands on spray time on the car also.

As you can see, one of the most time consuming things to doing this is all the masking and covering the areas you don't want the paint to be. We wanted the graphics to have the old school look. So we added some depth to them by shadowing the edges to give it a 3-d look. This was Ron's expertise in this area and he did all the shading work.
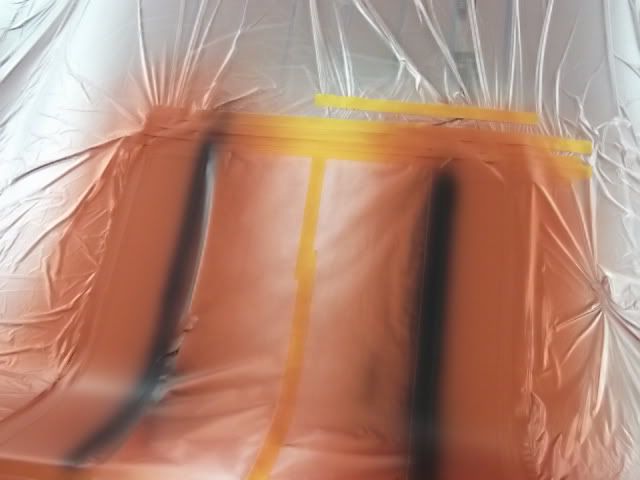
Next up was the blue, followed by more shading. And of course you have to back mask the Tangerine that was just sprayed.
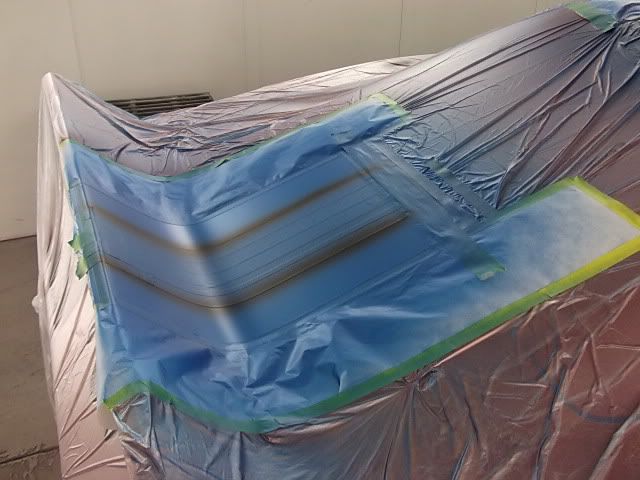

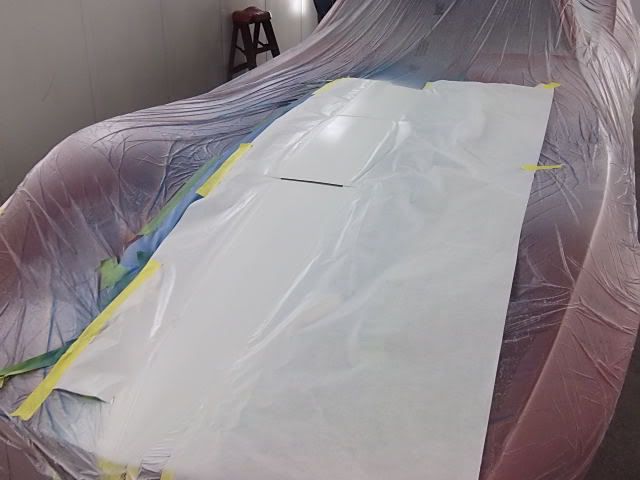
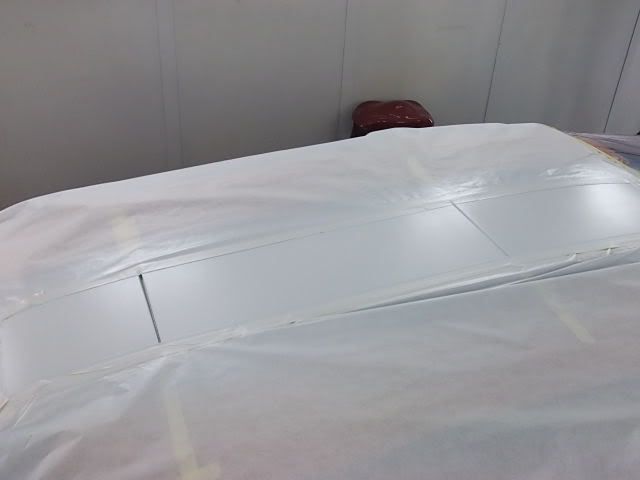
Then it is time for the white Pearl. This requires laying down a bright white base coat. Then we put a high white pearl for the 2nd stage. We had discussed a few things for this. We talked about using some lace like the old days. Maybe some marble-izer. However since we are under the gun time wise we left it alone.
1st we layed down a brilliant silver panel the width of the whole graphics area. Then we masked that so that there would be a silver pinstripe between all the colors and around the outer edge of the graphics.
Then we started with the Tangerine. Since Ron is the painter at the shop and has helped me a bunch with this project I felt it would be fun for him to have a little hands on spray time on the car also.
As you can see, one of the most time consuming things to doing this is all the masking and covering the areas you don't want the paint to be. We wanted the graphics to have the old school look. So we added some depth to them by shadowing the edges to give it a 3-d look. This was Ron's expertise in this area and he did all the shading work.
Next up was the blue, followed by more shading. And of course you have to back mask the Tangerine that was just sprayed.
Then it is time for the white Pearl. This requires laying down a bright white base coat. Then we put a high white pearl for the 2nd stage. We had discussed a few things for this. We talked about using some lace like the old days. Maybe some marble-izer. However since we are under the gun time wise we left it alone.
NITRO PILOT
[url]http://.www.rapidrandy.net[/url]
[url]http://.www.rapidrandy.net[/url]
-
Rapid Randy Baker
- Posts: 8075
- Joined: Thu Feb 23, 2006 9:05 am
- Location: Des Moines, Iowa
- Contact:
Re: Sin City Vette AA/FC
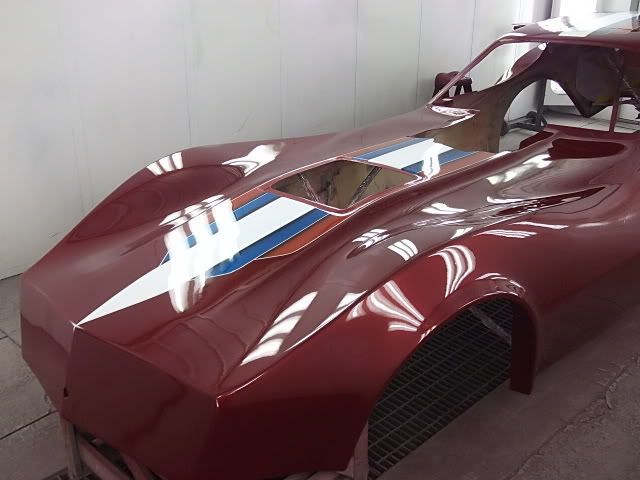
Many hours later you end up with the graphics floating on the prepped main color surface.
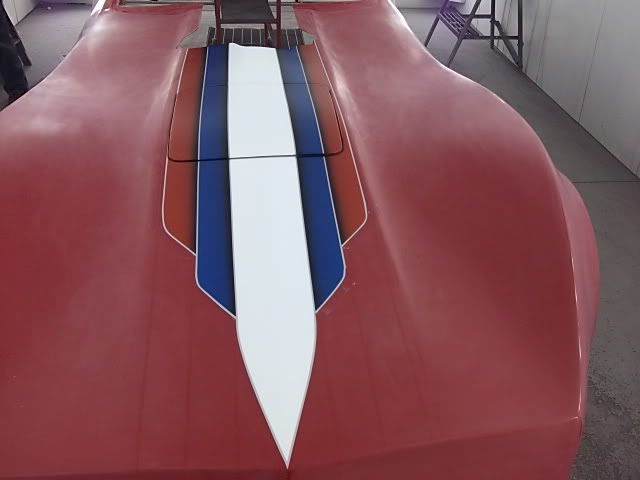
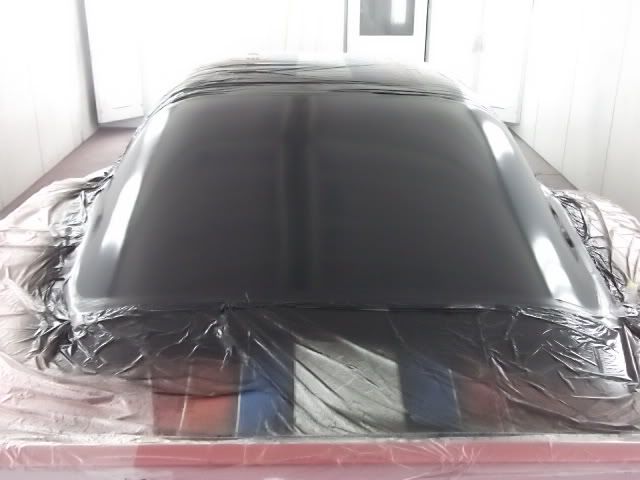
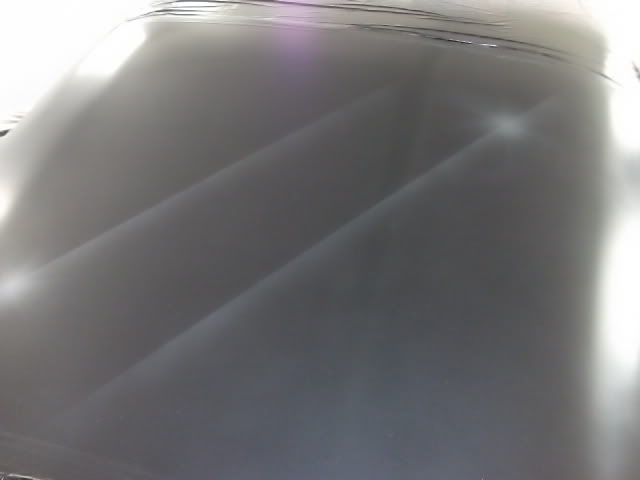
Now it is time for the rear window. It was masked up, and I sprayed it black. Then Ron worked his magic on it with some more white pearl to give the effect of glass reflecting in the sunlight.
At this point you triple check your work. Make sure the lines all look right. Then is is time to clear everything under.
With a couple of medium coats of clear it gets baked at 130-degrees for 30-minutes. We let is set over night and the next day it got sanded down with a fine grit sandpaper and back into the booth the following night for the final clearing.
3-nice wet coats and it looks like a piece of glass. At this point most guys would send it home it looks so good. We will give it a light sanding and final polish. Then it is time to get the windshield in, and the tin back in the car.
Thanks for following along. I hope this gives some idea of the work involved to complete a project like this.
Rapid
NITRO PILOT
[url]http://.www.rapidrandy.net[/url]
[url]http://.www.rapidrandy.net[/url]
Re: Sin City Vette AA/FC
when I worked at the body shop I was amazd at how you artisans can do this stuff and give it such depth , heck I have a hard time with crayons ..
and I noticed your huffer is missing 144 cubes or more in the back . looking good .
and I noticed your huffer is missing 144 cubes or more in the back . looking good .
the Groom that went Vroom At DLN IV

Re: Sin City Vette AA/FC
You need to pickup the pace a little bit Rapid and quit milking this out!!!!
Thanks for sharing this. This is going to be one "bad to the bone" looking funny car!!!!!!!
Now I wish the pit cart matched the car! That reminds me, is anyone been driving that thing around???
Thanks for sharing this. This is going to be one "bad to the bone" looking funny car!!!!!!!
Now I wish the pit cart matched the car!
Return to “Super Crew Team Reports”
Who is online
Users browsing this forum: No registered users and 59 guests