Page 109 of 146

Posted: Sun Sep 27, 2009 9:44 am
by pro70z28
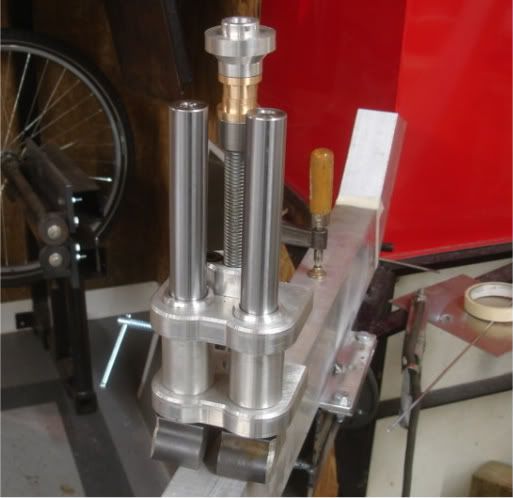
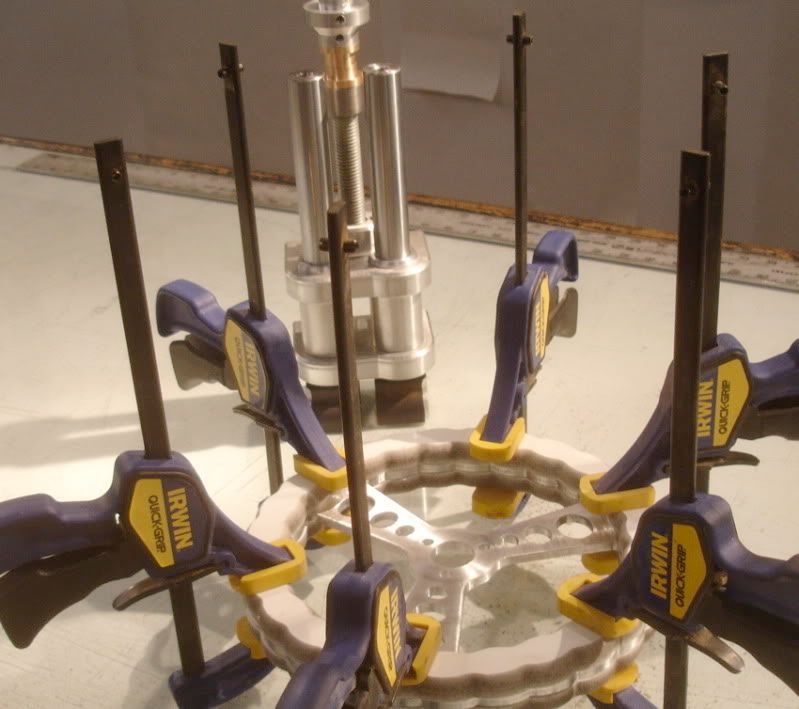
Got a little more done on the English wheel yesterday. A guy I talked to on the phone that builds E-Wheels said if I build one it needs to be very sturdy & needs a lot of adjustment built in. So, this is what I came up with for the top anvil. It's a little more complicated than it needs to be, but I had a couple old air actuated hydraulic cylinders laying around that I wanted to make use of. I got them for free probably about 30 years ago and finally decided it's time to use what's left of them. I found one of the cylinder housings was corroded through but the ram was still good & that's what I needed for the anvil adjuster. Too bad they are shot, the cylinders are all aluminum (except for the ram).
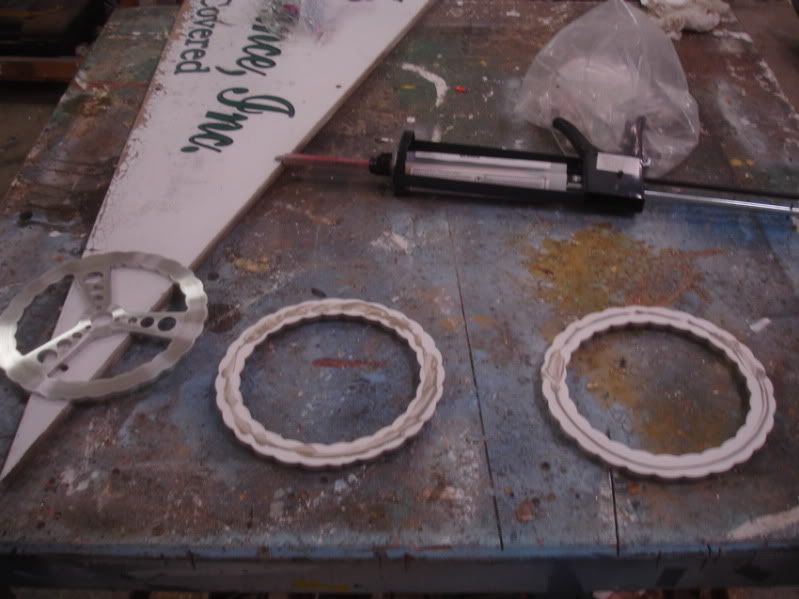
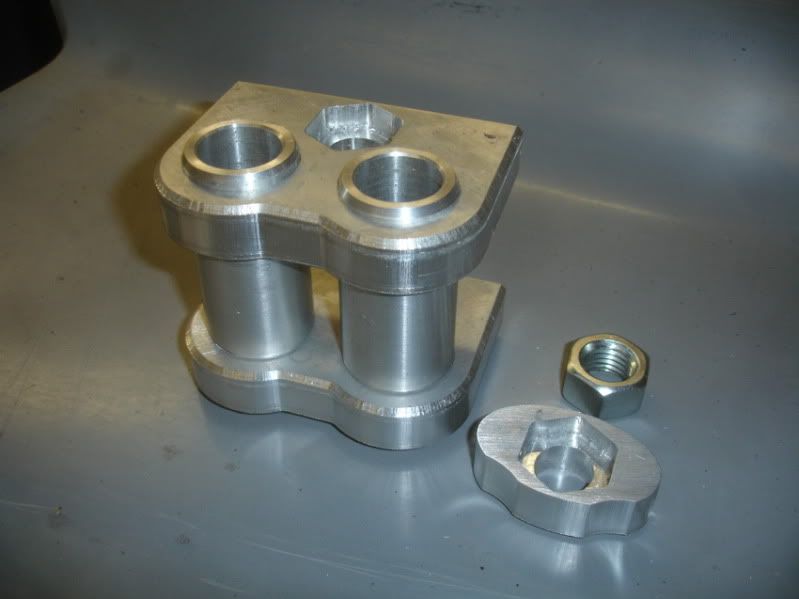
Anyway here's the deal. I cut a couple sleeves out of aluminum round stock for the rams.
Image

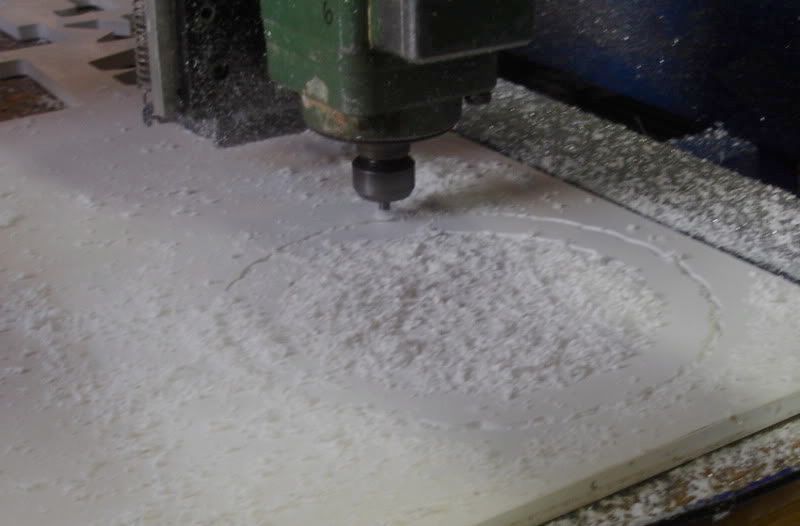
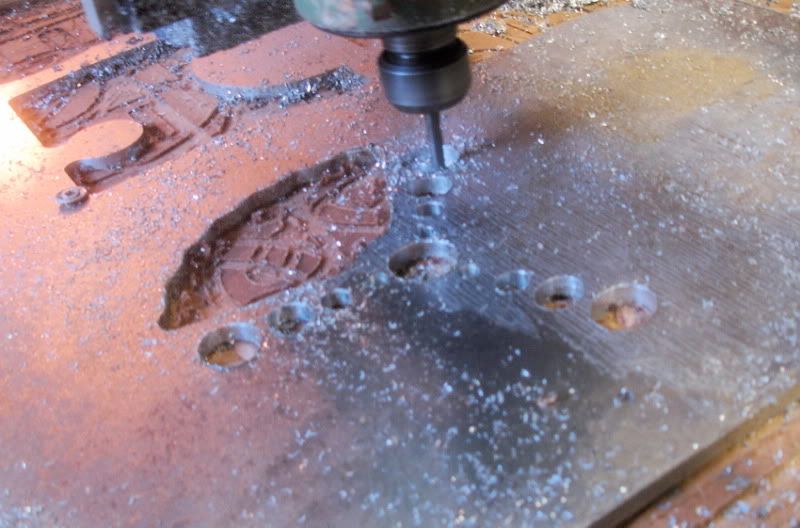
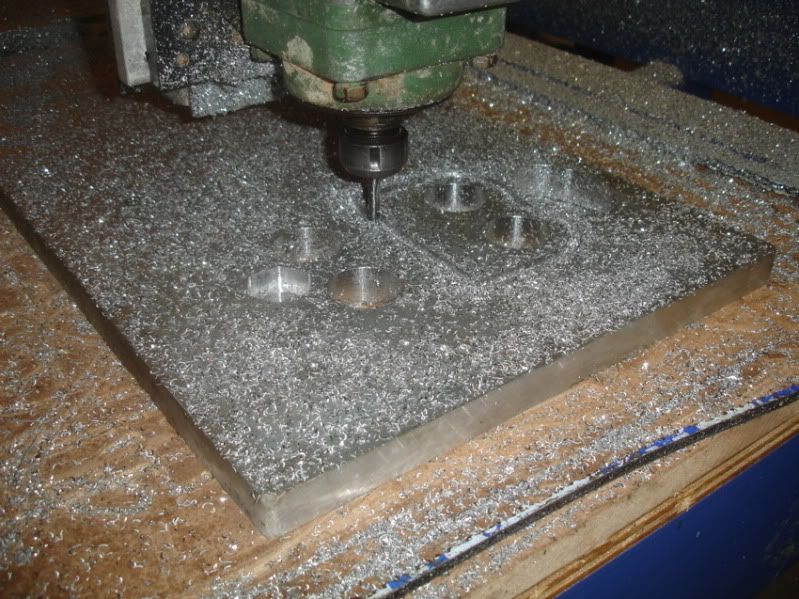
Cut a couple supports for the sleeves on the CNC
Image

Parts pressed together. I didn't want the anvil assembly to rely on threads cut in aluminum, so I made this little pocket to hold a nut for the 3/4" ready rod that will be the adjusting screw.
Image


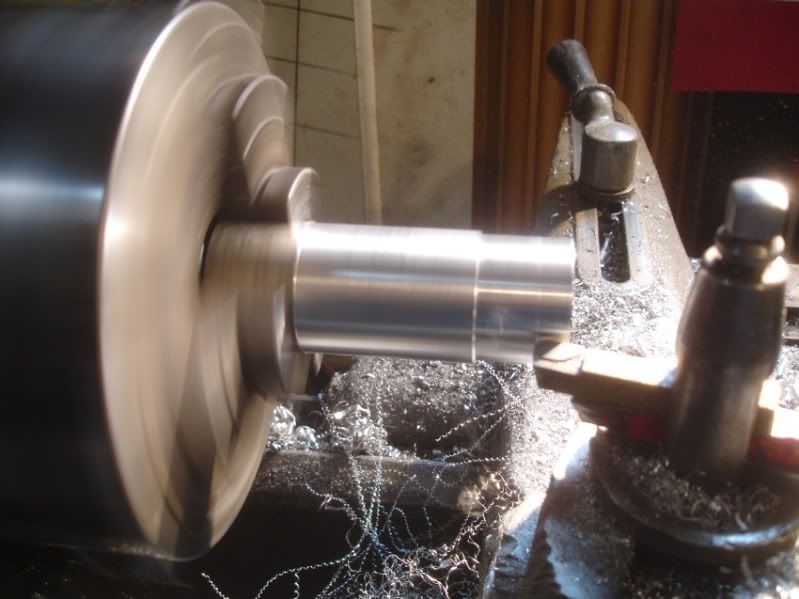
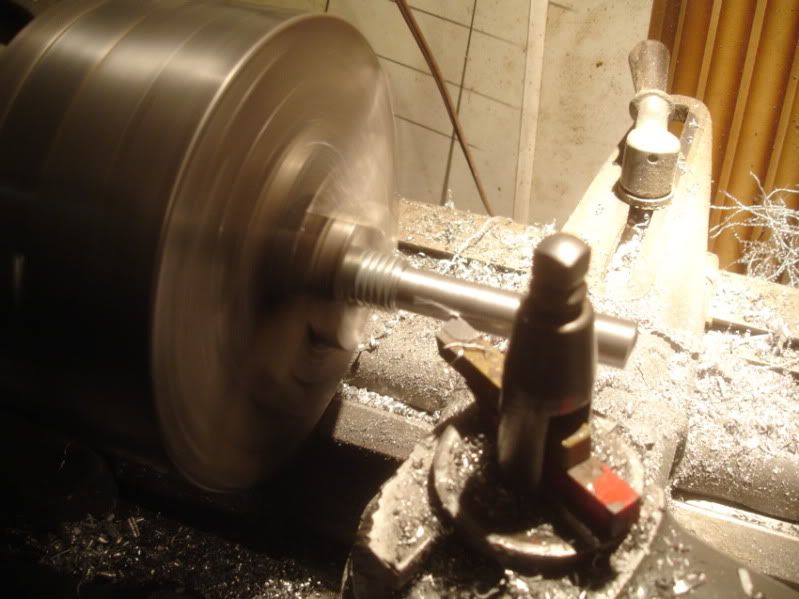
Turning part of the ready rod down to 5/8'' to make an adjuster out of it.

Image

Posted: Sun Sep 27, 2009 9:50 am
by pro70z28
Here's where it's at so far. I have those cylinder rams cut to length. Turned a hub for the adjusting wheel that will be mounted on top. There will be a plate where the brass bushings are to tie the assembly together. Got a wheel and mounting flanges to make yet and the top anvil part of the project will be done.

Image

I found some aluminum at the salvage yard that just said "I want to be an English wheel". I am building it to fit in the receiver I have on the wall for the other attachments. So, aluminum will make it a bunch lighter when I attach it to the wall to use. Old guys have to consider these things ya' know.

Posted: Sun Sep 27, 2009 10:23 am
by 23t
Lookin good Pro!! 8) 8)

Posted: Sun Sep 27, 2009 10:27 am
by Mr. Jean
Looking good! I really enjoy seeing your projects come to life. Thank you for sharing them with us. 8) Wish I had your talents and CNC/tools of course. :wink: 8)

Posted: Sun Sep 27, 2009 12:35 pm
by WildcatOne
Looks great, ProZ! Super good work. This is such an amazing process to watch develop! Cheers, WC1

Posted: Sun Sep 27, 2009 7:37 pm
by pro70z28
Thanks guys. I drew up & cut out the adjuster wheel for the E-Wheel.

Cut the hand grips out of 1/2" PVC.
Image

1/4" aluminum for the wheel itself.
Image

Used fusor auto body panel adhesive to glue it all together.
Image

Like Norm Abram says ''I'll let it cook in the clamps overnight''.
Image

Posted: Mon Sep 28, 2009 12:49 am
by stimpy
not to be a stickler but if you had a hydraulic cylinder that operated by air wouln't it be Pnuematic??? :roll:

Posted: Mon Sep 28, 2009 8:18 am
by pro70z28
technically it would.

Posted: Mon Sep 28, 2009 9:30 am
by 23t
Won't it hard to turn that wheel with all those clamps on there? :shock: Sorry, I'm just kidding.

And stimpy, that would be called a Hydro-Pnuematic cylinder!!! :wink: :lol:

Pro, is making signs a hobby for you? You really do some excellent machine work!!!!! 8) 8) 8)

Posted: Mon Sep 28, 2009 3:28 pm
by SLICK VIC
Man that is one heavyduty beefy wheelie bar,..nice...


Image

:lol:

Nice work Gary