Thanks WC & Al.
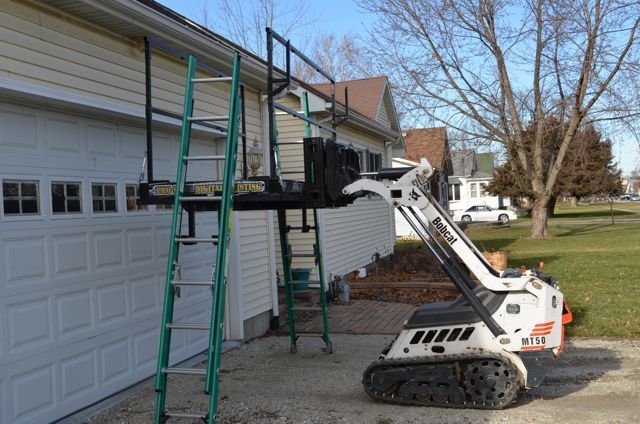
Over the Christmas/New Year holiday I've been working on the scaffolding (still). The 6' version is done but for a few little accessories to make everything as convenient as possible. That's the set up I'll be using most of the time. But, for those times I need to get a little higher I'm workin' on phase 2, a 12' lift.
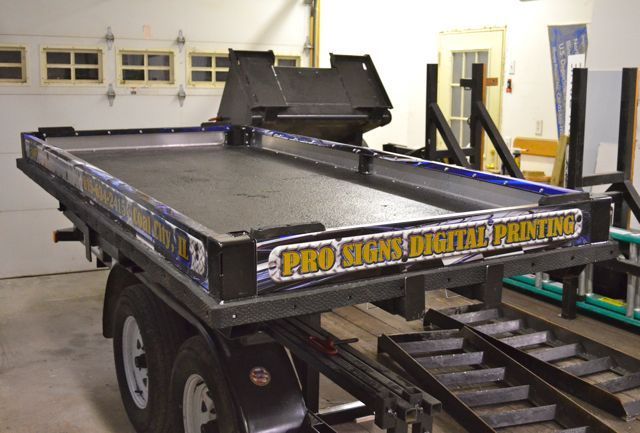
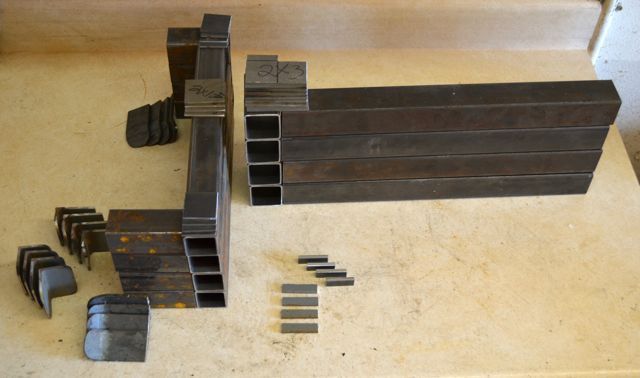
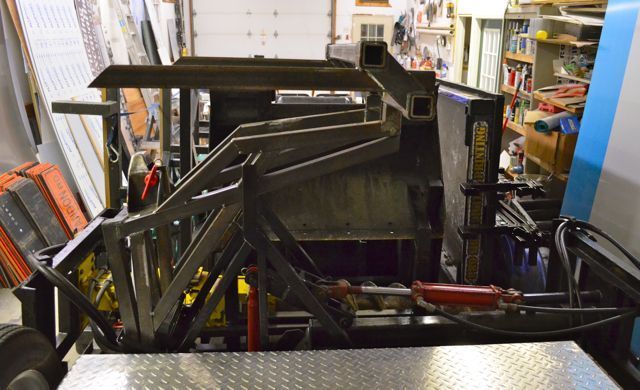
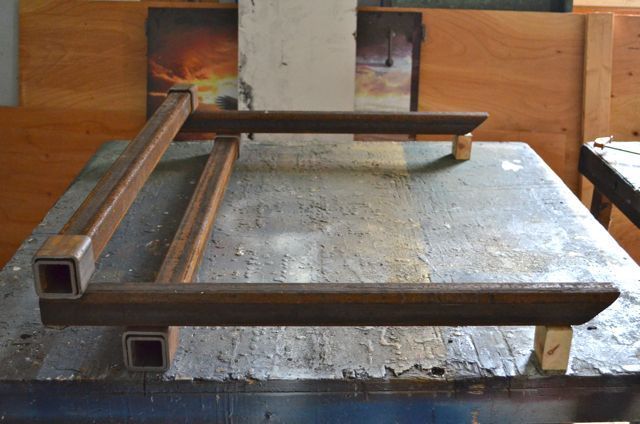
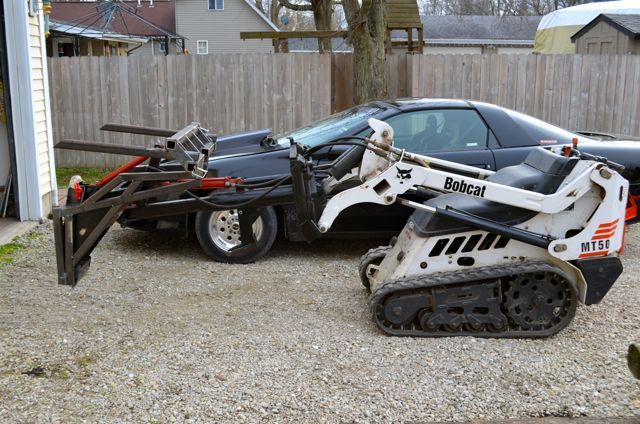
I started by building a set of forks to fit the receivers on the deck.
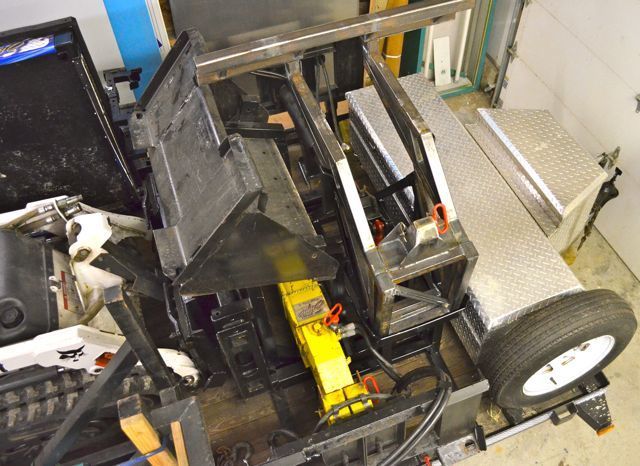
It will lock on with the same receiver I use to lock the 6' forks to the deck. Hard to see in this pic but there are 2 receivers stacked on top of each other under the deck. Bottom receiver (where the pin is in this pic.) locks the deck to the trailer rack. Move it to the top receiver & it's unlocked from the trailer rack & locked to the Bobcat forks.
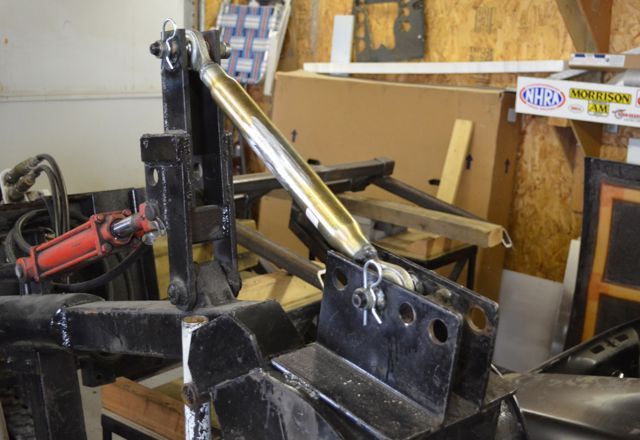
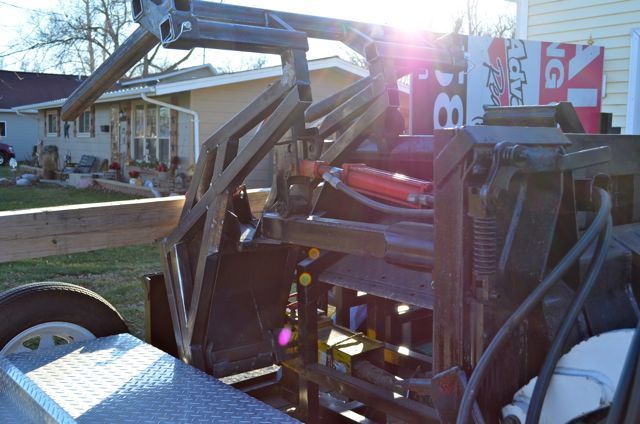
When I built the backhoe attachment many years ago, I never really finished the arm that controls the bucket. I just drilled a 3/4" hole in a square tube & pinned it with round stock I turned on the lathe. Over the years the holes got a little elongated so there was a lot of slop. No big deal when diggin' a ditch, but not so good for stability of a deck.
So, to speed up the upgrade process, I went to the local farm supply store & picked up a draw bar link. It was a little too long and adjustable, which I don't need, but it did have nice 3/4" hiem joint ends. A little cuttin' & weldin" & now linkage is nice & tight.
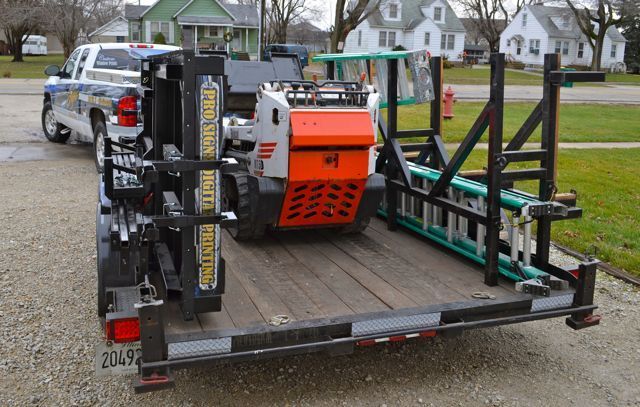
It was a pretty tight fit even before the added hardware. I 'hink it is all going to fit on the trailer though, barely.
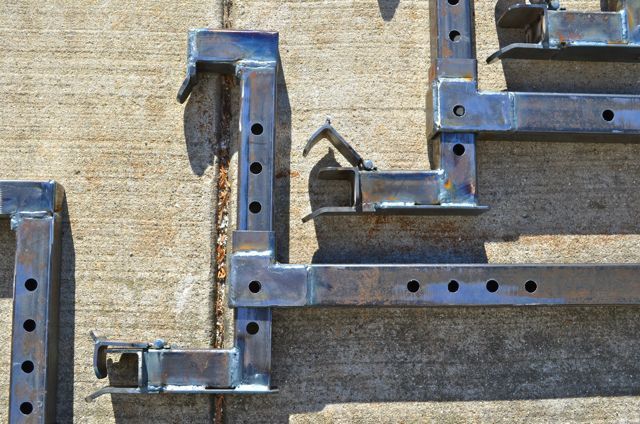
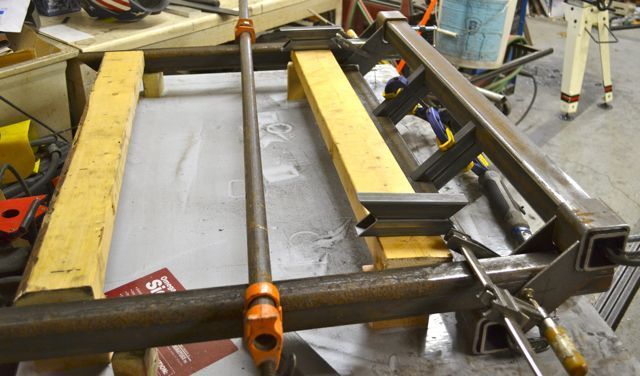
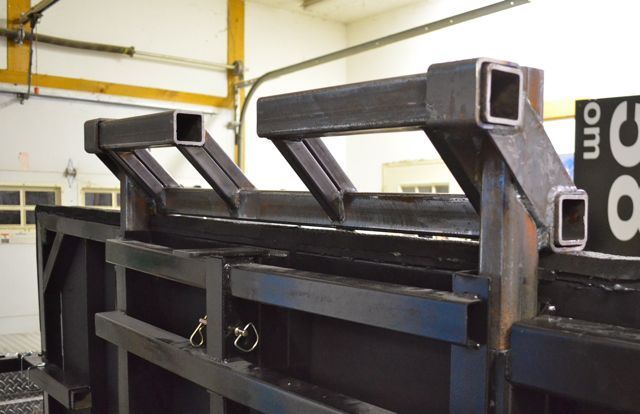
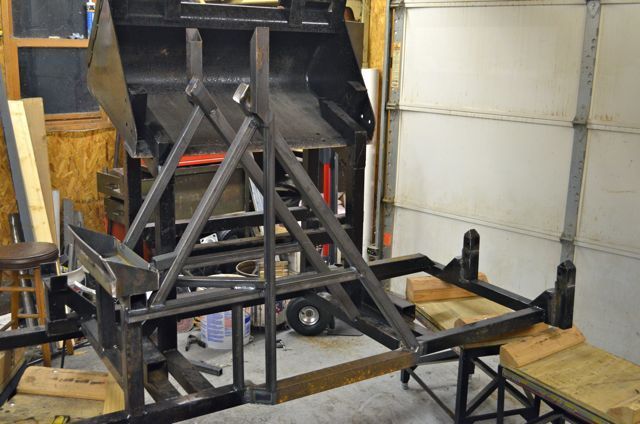
After a couple redesigns I have it all tacked together & ready to weld, add braces, gussets & fish plate. I had to be able to pick the deck off the trailer with no clearance issues, load/unload the forks on the storage rack with no clearance issues, unhook the backhoe from the forks and have it load/unload from it's storage rack with no clearance issues & still have it braced in the right places to be strong enough to do the job & not weigh too much. I also wanted it riding as low on the trailer as possible because I just want to keep everything as compact as possible.
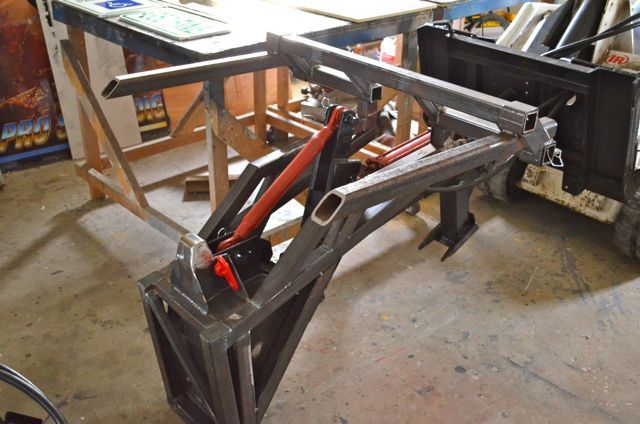
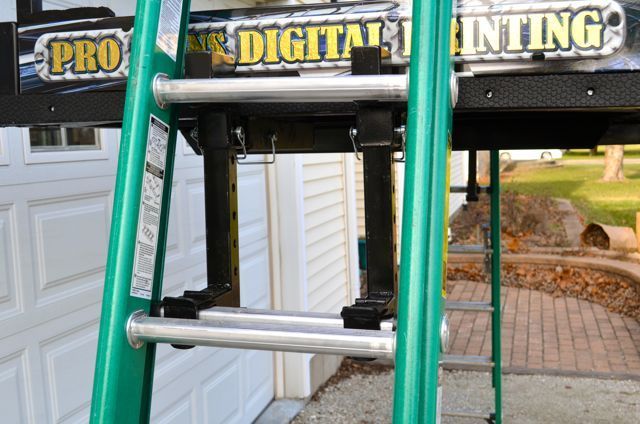
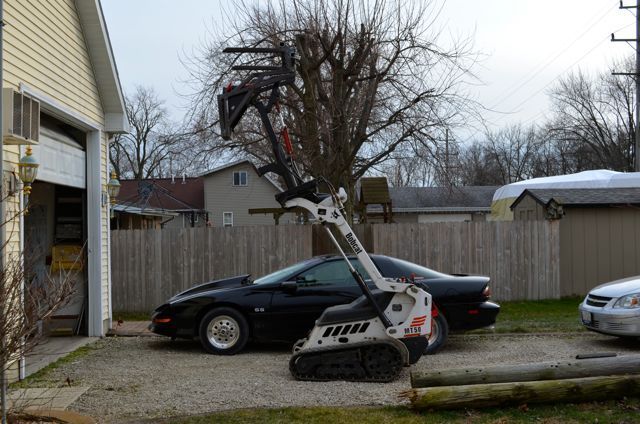
The deck goes from about 3' at it's lowest point, to 12' at it's highest. Ladders are 16' so that should work out goota'. I could build it so the deck goes way to the ground or build it so the deck is set back over the bucket (better I/C). I opted for the better I/C.
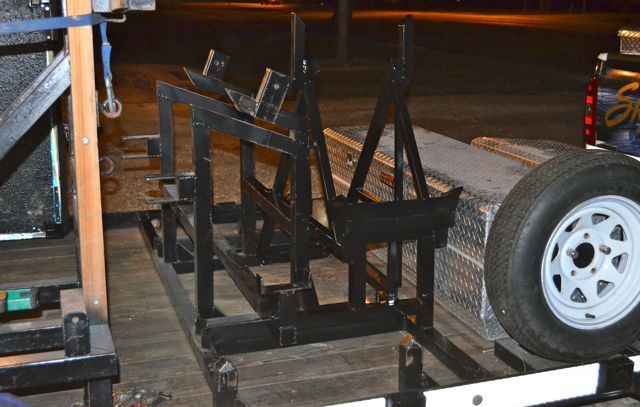
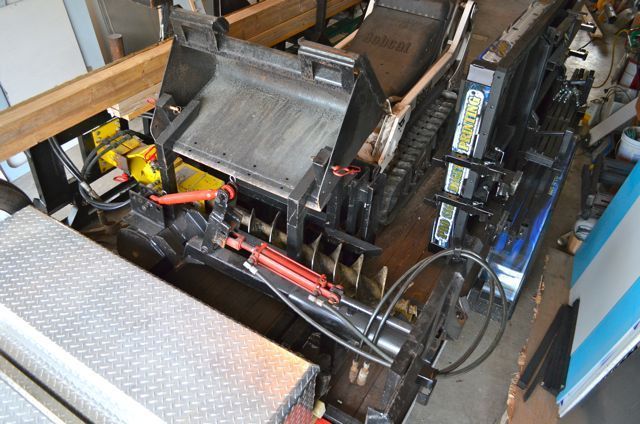
Mock up to see where the Forks could be stored best.
I ended up taking the rack off the trailer to make the modifications. The backhoe had to be relocated 2" forward X 1.25' higher & the bucket needed to be set in a different position to get the needed clearance on the rack & still be able to pick any attachment without clearance issues with another attachment, sign posts, framing material or signs. Yup, need to have room for signs on a sign wagon.

The other day I picked up the stuff to build outriggers for the track loader. The challenge will be to make them easy to install / remove / store & all while not causing any "clearance issues". Since the Bobcat is a pretty compact unit to start with there will be a fair amount of head scrathin' involved. I usually come up with these hair brained ideas at odd times (can't sleep at night, workin' on routine jobs, etc.). I've come up with a few of what I thought were great ideas, only to look at the Bobcat & realized something or other was in the way. I hink' though, I have a plan now. We shall see.